Expense management
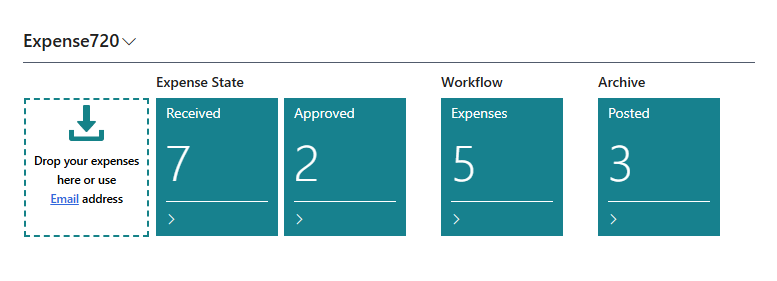
Expenses can be uploaded directly to Business Central by drag-and-drop functionality or manually upload.
Supported expense document types.
- PDF-files
- JPEG-files or JPG-files
- PNG-files
- GIF-files
Together with Expense720 you will get an Expense720 mailbox. When you send mails to the mailbox, the expenses from the email will automatically show up in Business Central. The default mailbox is automatically created when Expense720 is installed. You can create more mailboxes to support different behavior from Expense720 setups, workflows and data capture service.
Supported expense documents in Emails.
- PDF-files
- JPEG- and PNG-files (from 600 x 600 pixels)
Note
Expense handling and prioritize with different document attachments in one Email.
- Email with one PDF-file attached -> One Expense
- Email with two or more PDF-files attached -> Two or more Expenses
- Email with one PDF-file and one JPEG-file attached -> Two Expenses
- Email without any files attached -> One Expense (created from email-body content)
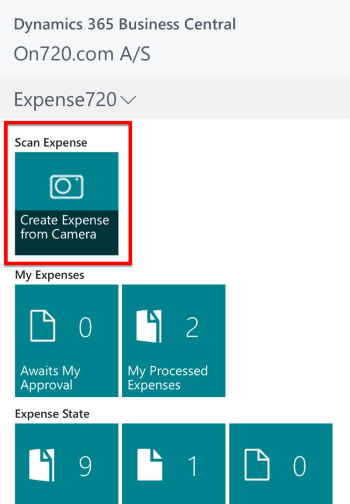
Create new expenses from Mobile App client
It is also possible to use your device camera. Take a picture of your expense document and it will automatically create a new expense.
It is possible to register further informations to the expense directly in the Mobile App client
Merge or split expenses
When you have received expenses it is possible to merge them together. You need to select the expenses from the list and choose the Merge Expenses to New from the action bar.
Warning
When you merge expenses together there will be created a new expense and data from the oldest expense will be deleted.
It is also possible to split an expense document to more expenses.
Note
This is only possible when the expense is received by email. All attachments from the the incoming document will be duplicated into new expenses.
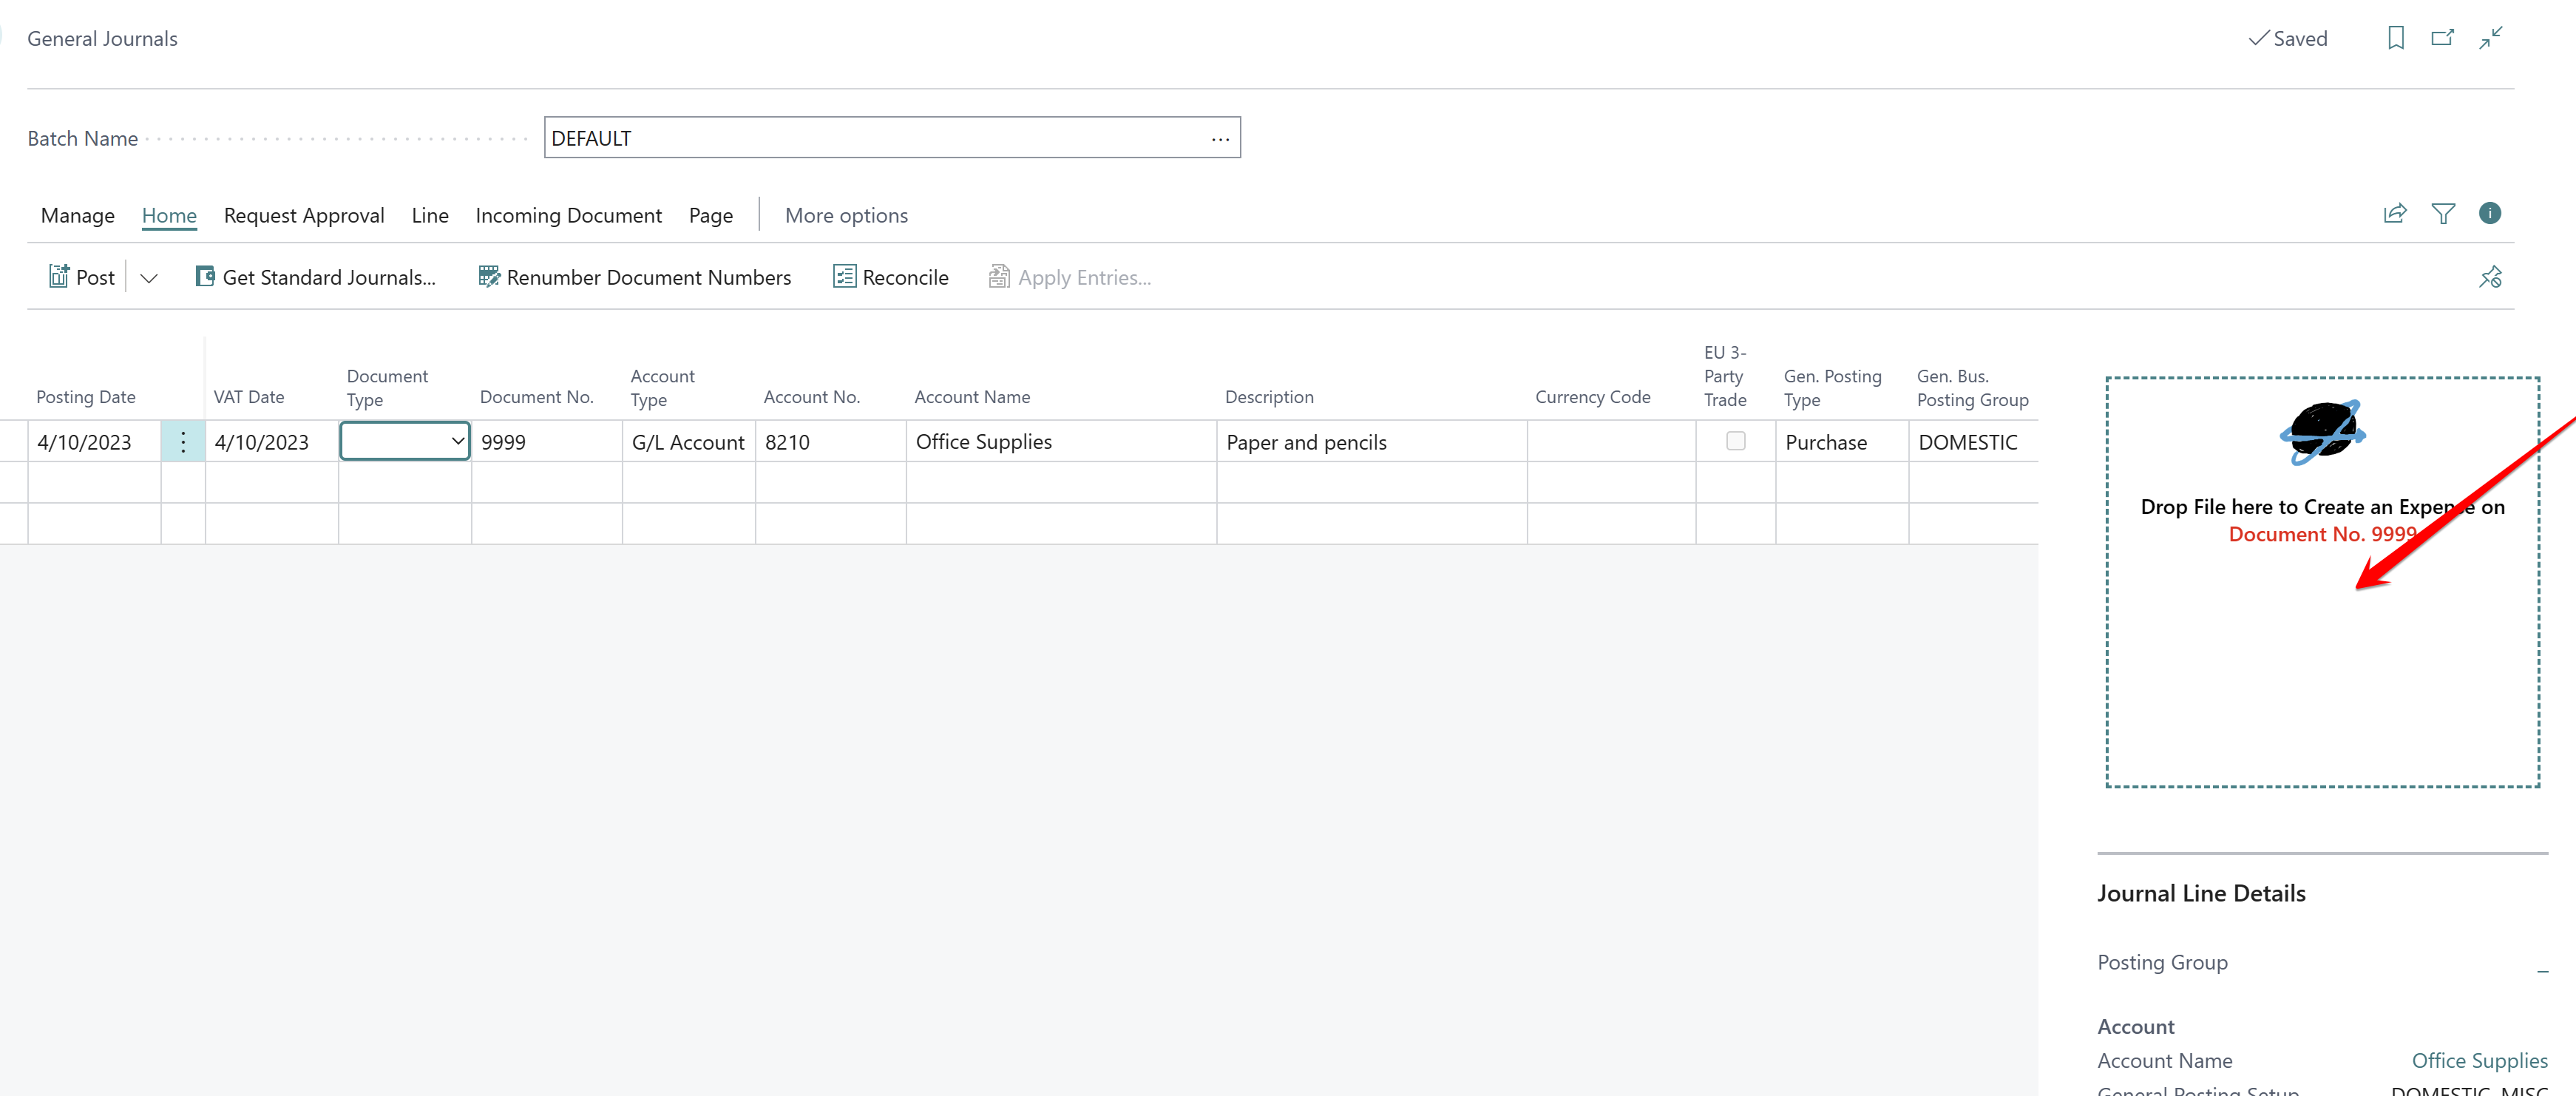
Drag and drop expense documents in General Journals
You can add expenses directly to General Journal lines by Drag and drop functionality.
Add expense on posted entries.
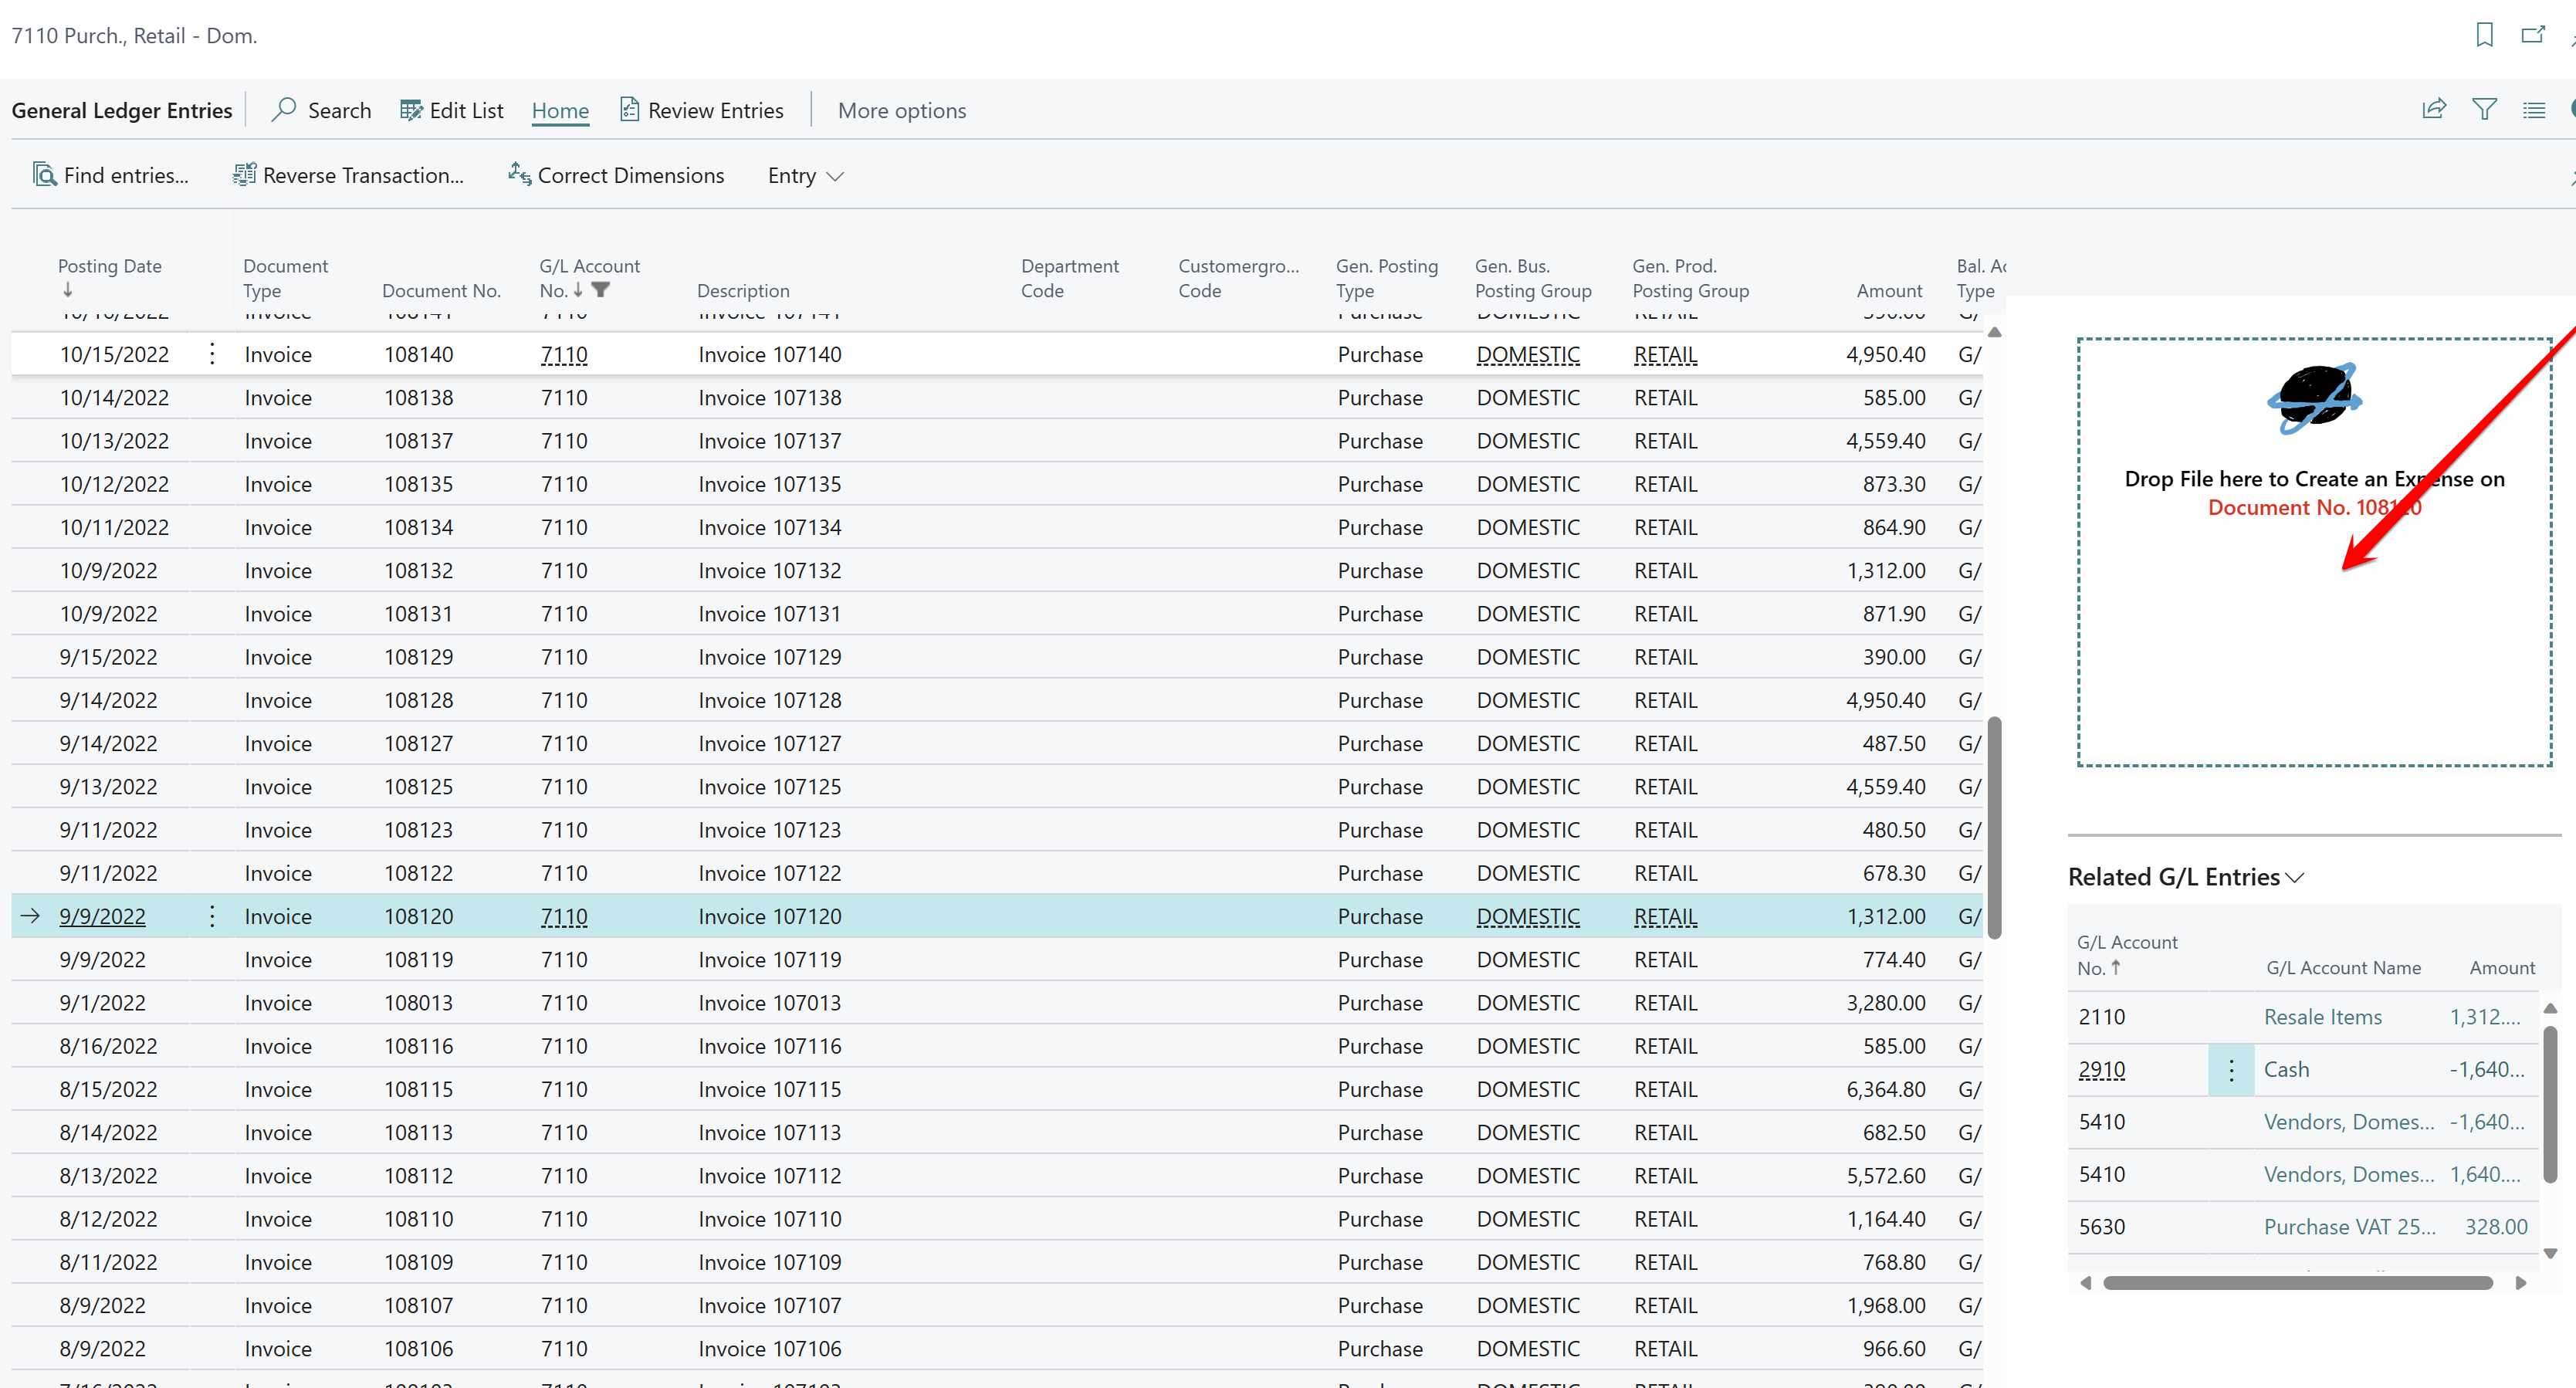
Add expense documents directly on posted entries. From the list page with General ledger entries, Customer ledger Entries and Vendor ledger entires, it is possibleto drag and drop a file directly. The file will create an expense and be achviced as a posted Expense.
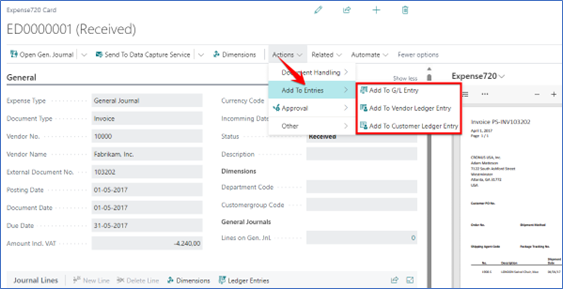
If you need to archive incoming documents on existing entries, it is possible from the expense card. You can add an expense on posted entries, it could be on a G/L Entry, Customer Entry or Vendor Entry.
First you must choose a number, it could be a vendor account number, and then the voucher number that the expense should be related to. When you confirm the page with an OK, the expense will be related to the entries and will show up on the historical entries.
See incoming documents
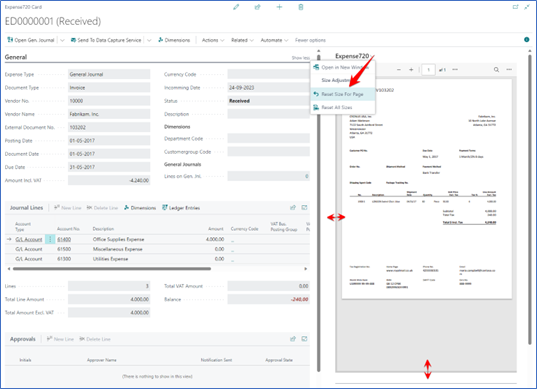
All necessary places, on entries and documents you will see a document window named Expense720. Inside this window the PDF-document is shown. The user can scale and resize the document window to fit best on the screen and get the best experience. The size of the window is stored per user and could be reset if needed.
Pop-out window
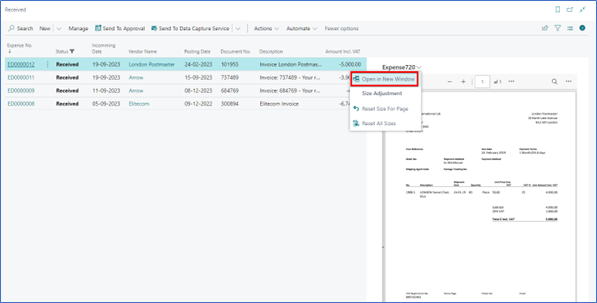
It is possible to open the pdf-document in a new window. If you have more screens, it could be very likely to use the pop-out feature. The document will automatically show up on the other screen if possible and follow the expense you select on the list.

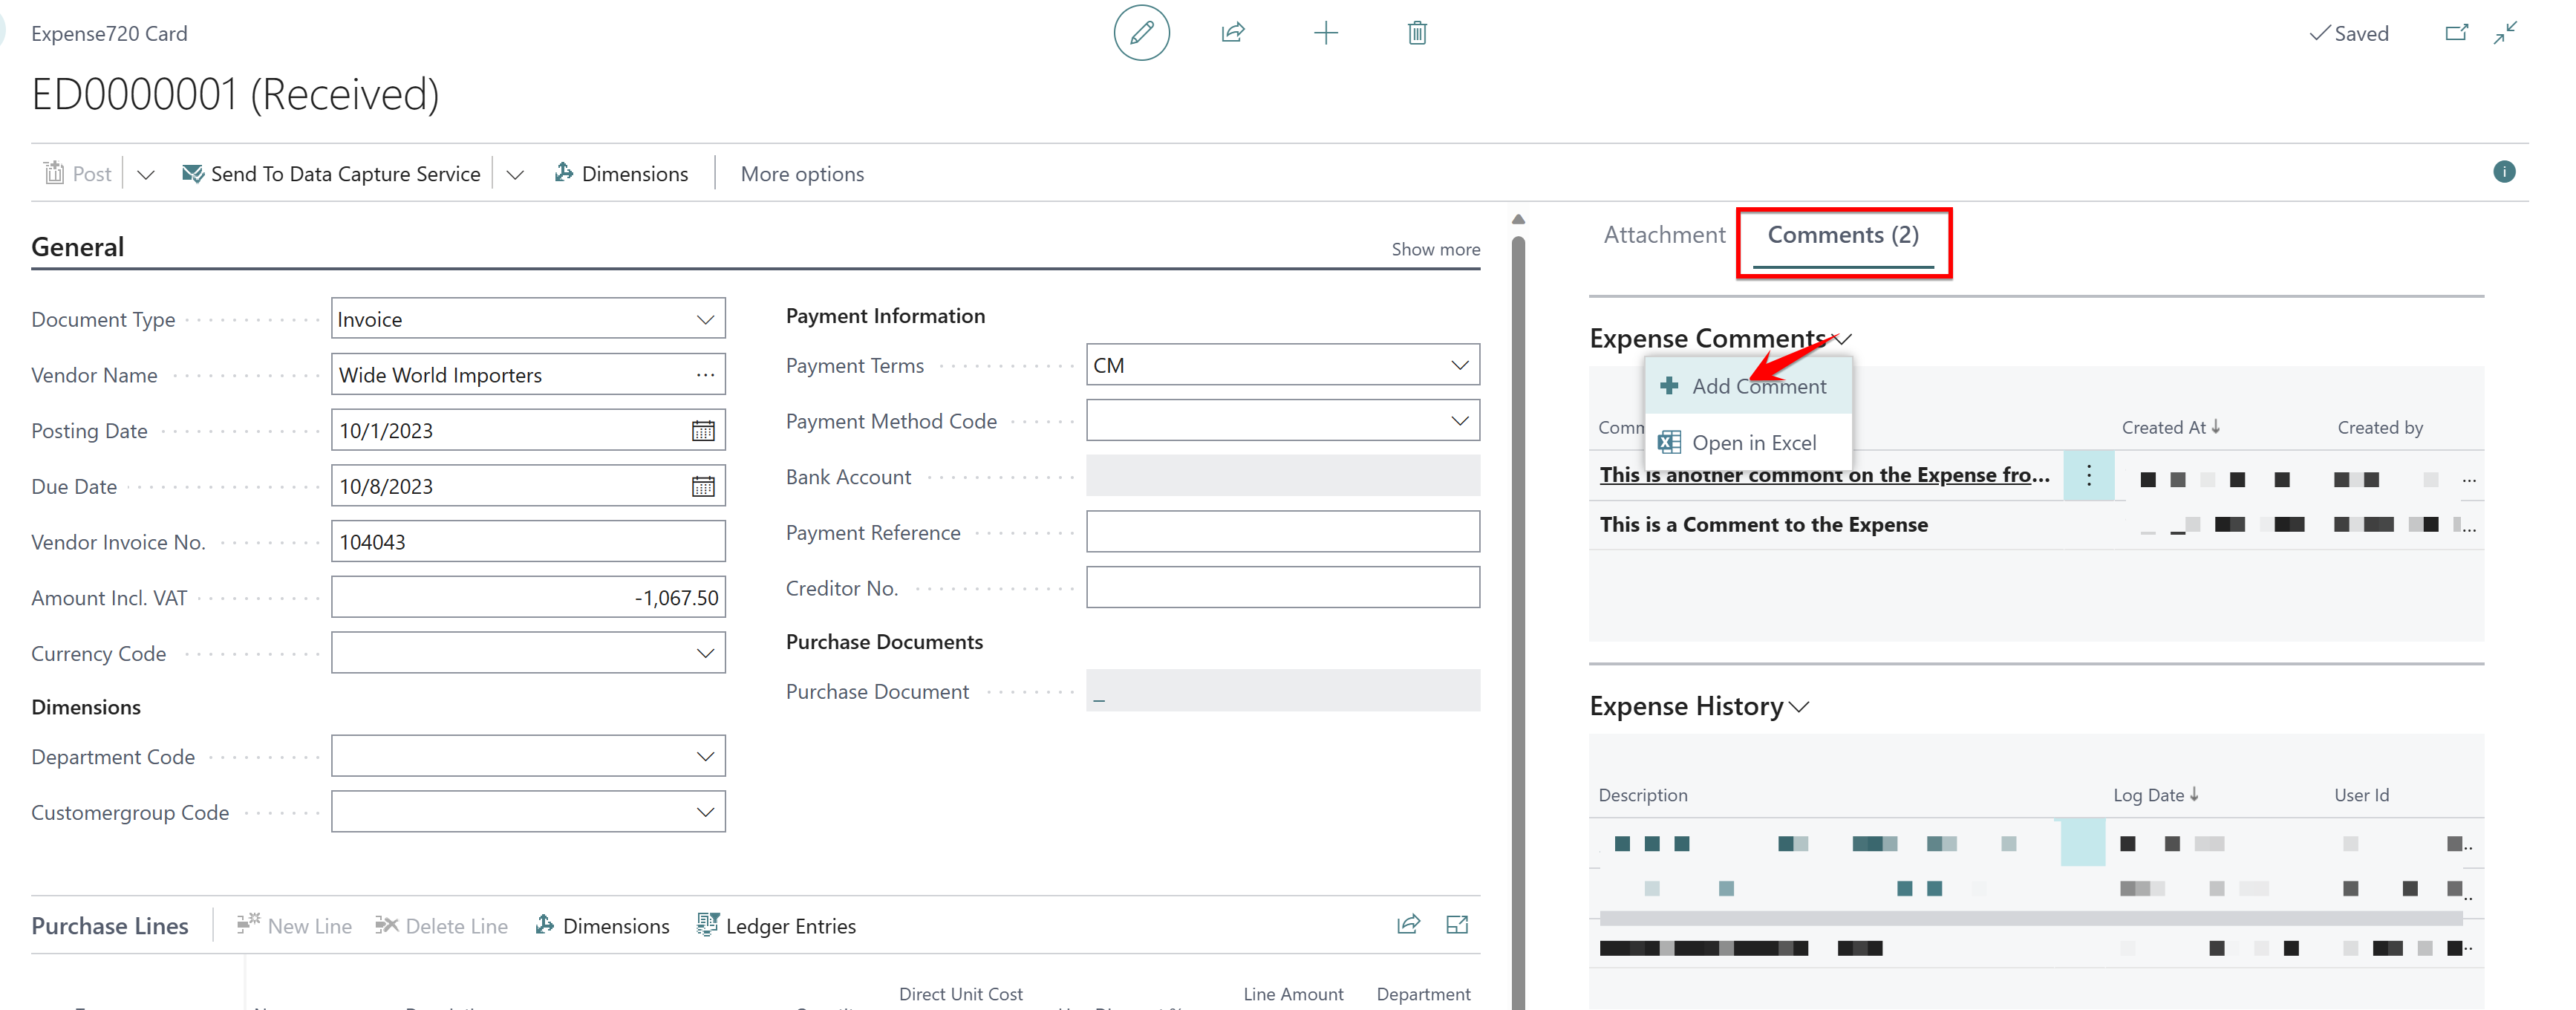
Expense Comments
From the Expense card og list, it is easy to add comments to expenses. Comments is logged and shown together with the expenses on achived entries.
