Business Functionality
Overview
Ready to learn more about Email720 and how to use it? Check out some of our resources, which include detailed documentation on documents and templates as well as many useful setup and user guides.
| To | See |
|---|---|
| Get familiar with General basic features and functionality | Basic functionality |
| Get started with setup and configuration | Setup and configuration |
| How to setup your customers to use Email720 and receive documents from different email accounts | Email setup |
| Learn how easy it is to send a sales invoice with Email720 | Send a document |
| Create your own email templates or change content in with specific parameters | Email templates |
General basic functionality
With Email720 you can easily send sales document attatched in email templates from Business Central.
Usage
It is very easy to get advantage of the process comming with Email720.
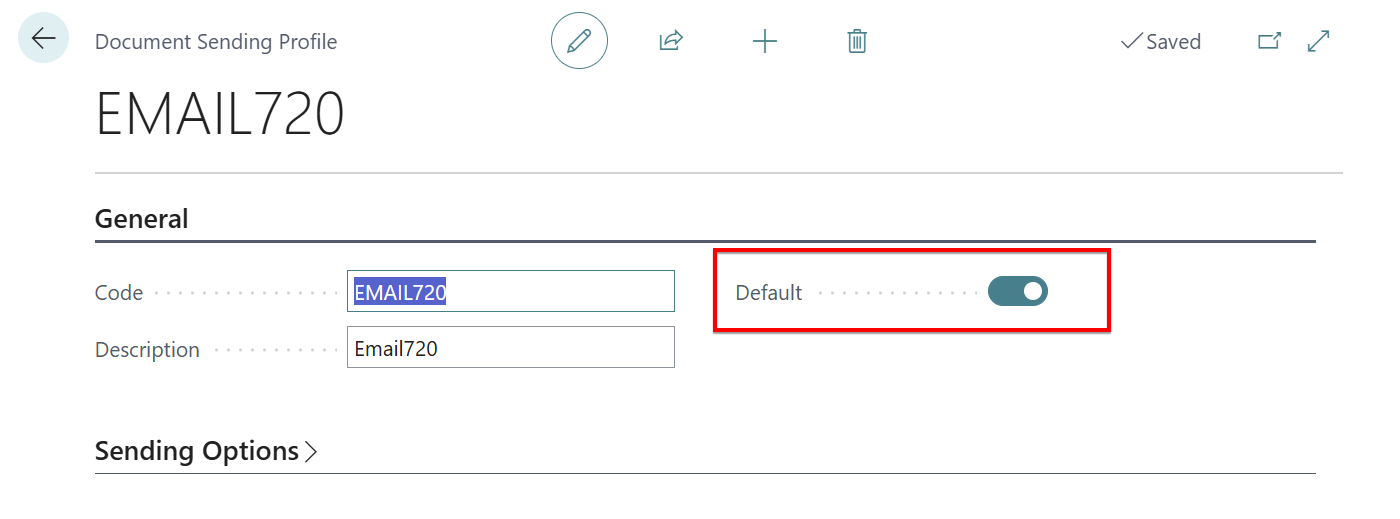
1. Add Email720 as Document Sending Profile
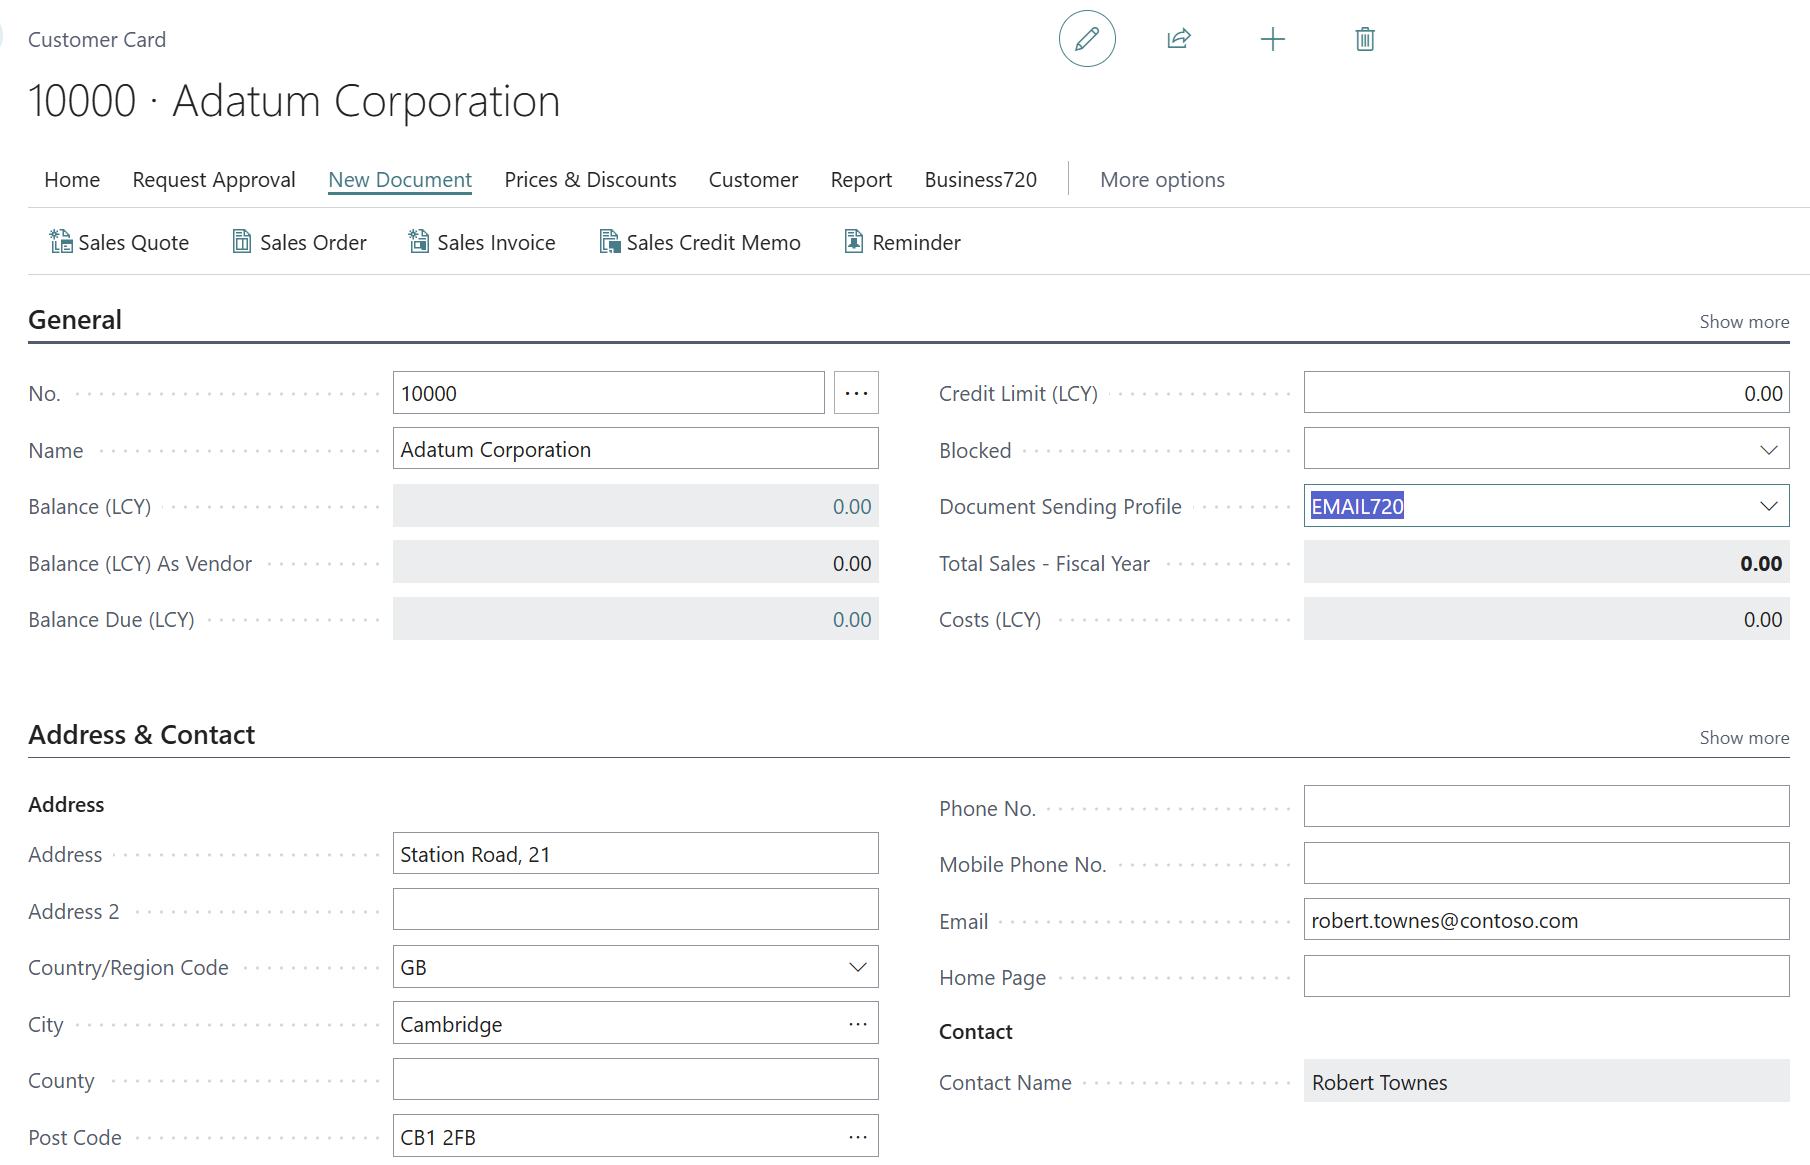
To activite the usage of Email720 you should add it as the Default Document Sending Profile or assign it to your customers individually.
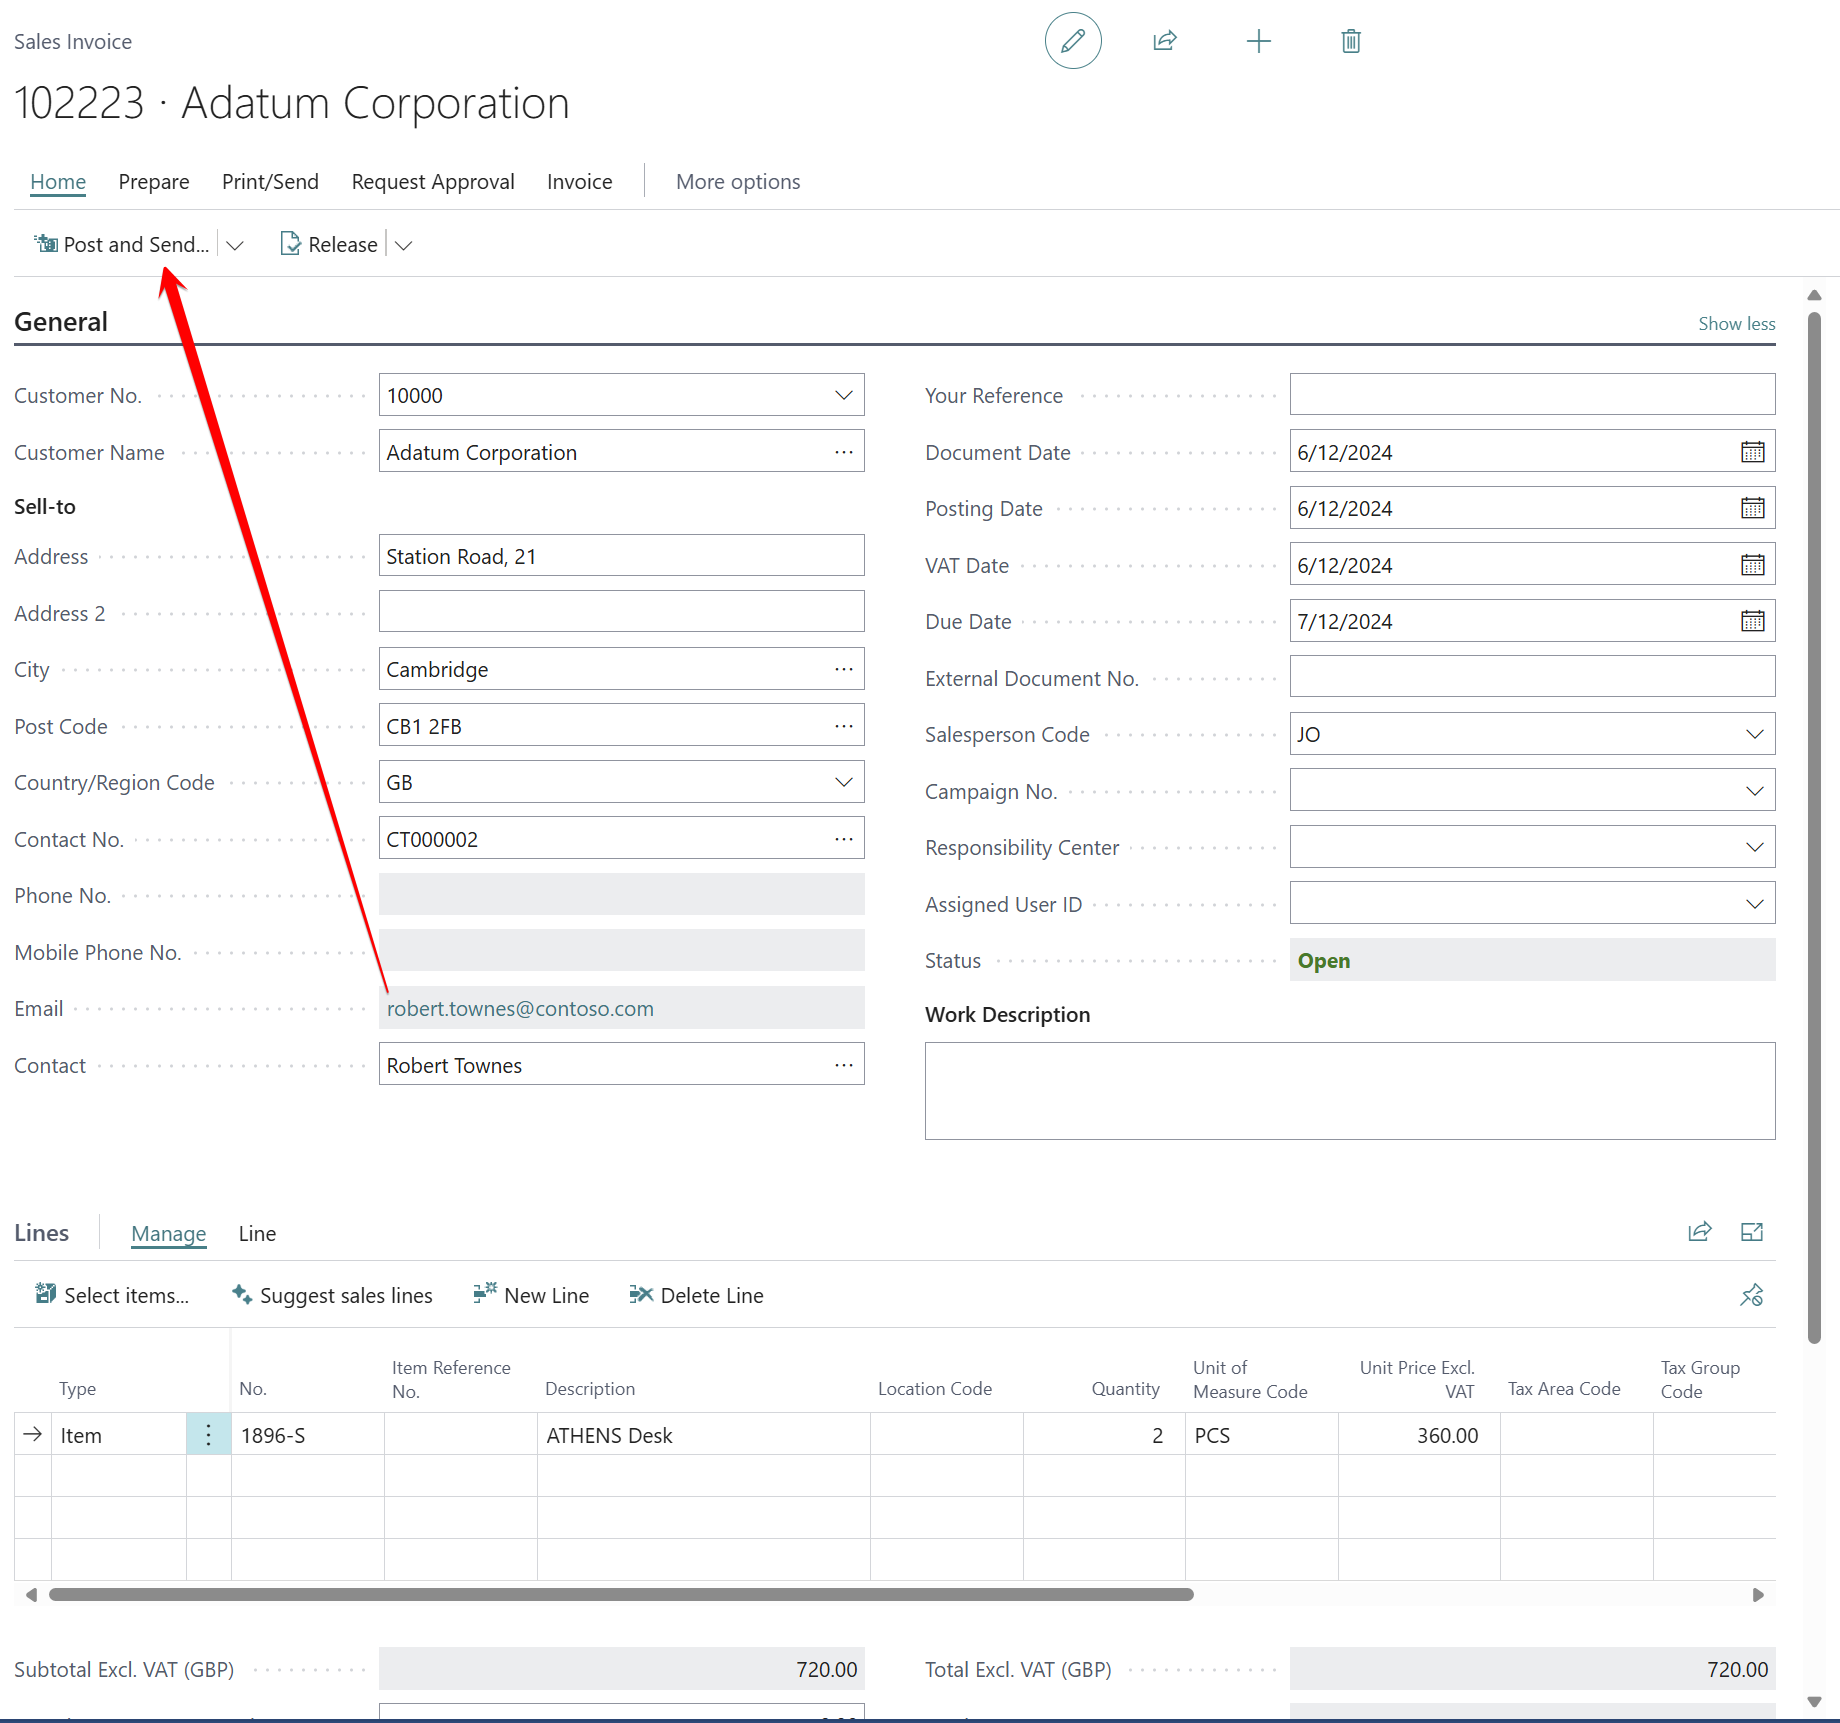
2. Create a sales document
You need to add a Email address on the Customer as well. It is the Sell-to Email that is used for sending the sales document.
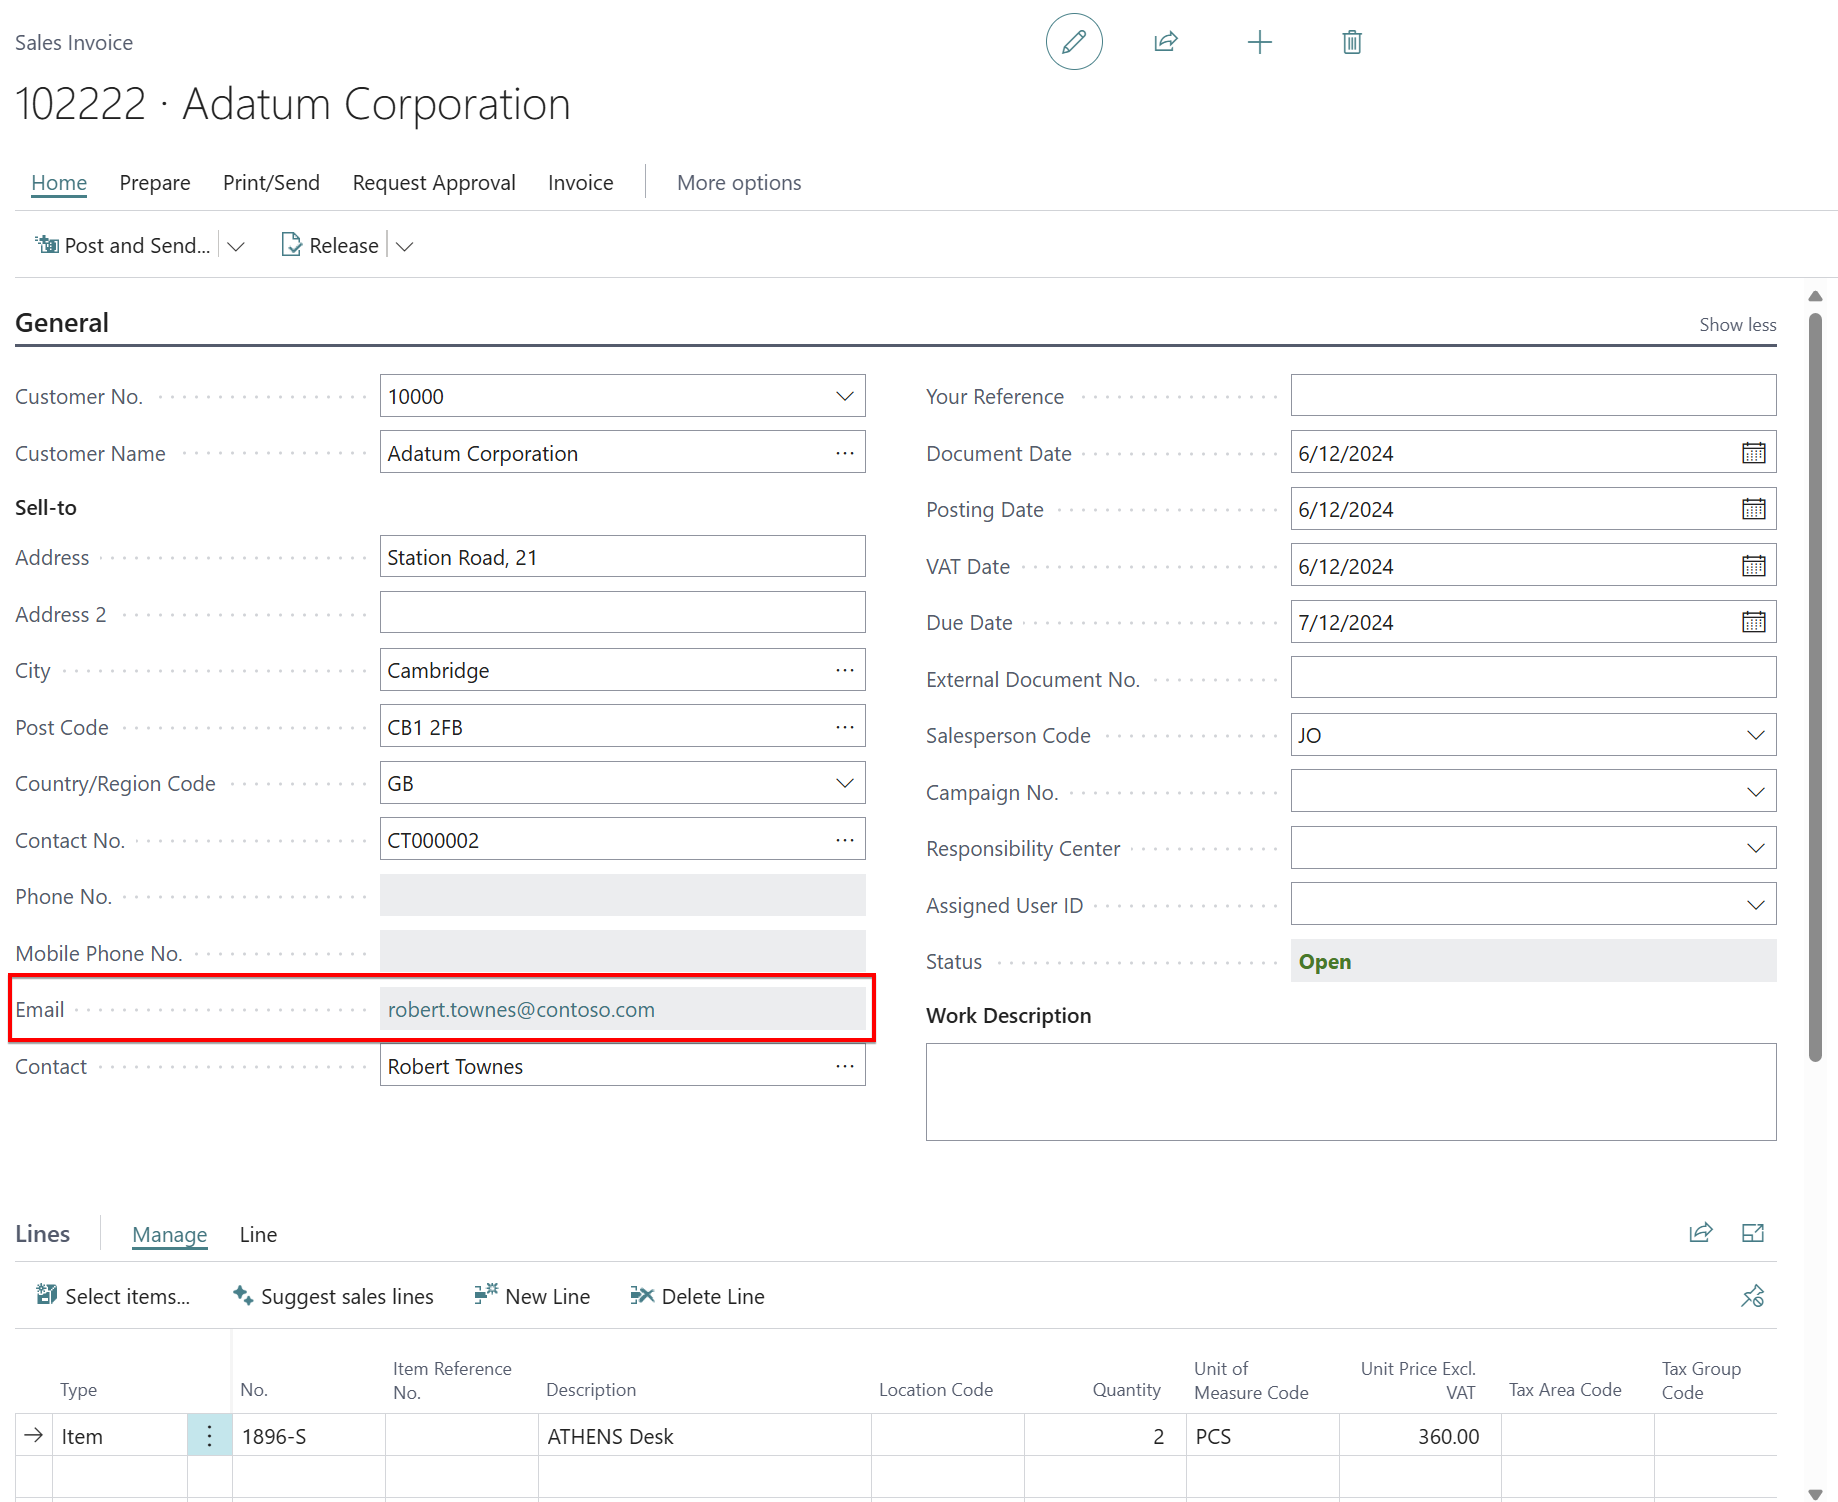
3. Post and Send the sales document
When the document is fullfilled it is ready to be posted and send - use the action "Post and Send" and press Yes to confirm usages of the Electonic Document sending profile that is delivered by Email720.
4. Follow the sending process from the Rolecenter
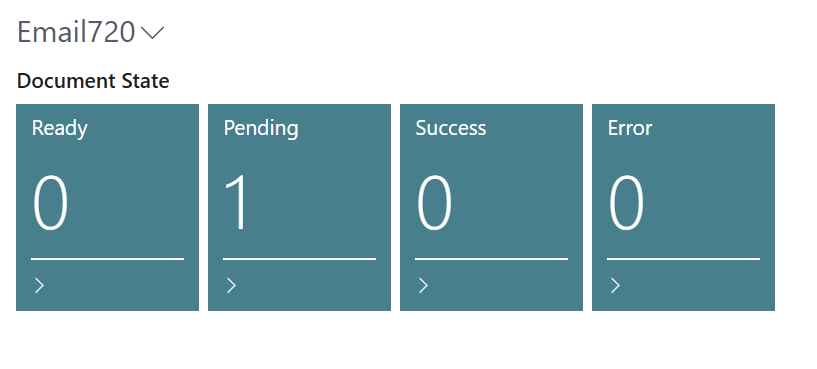
From the Rolecenter you will be able to follow the sending process.
Ready: Before the documents is process from the Queue. In this state it is possible to edit the email content and make changes before it will be send.
Pending: The sales document is process from the Queue and should be send to the customer
Success: The sales document is delivered with success
Error: The document could not be delivered correct. Email720 is logging the sending process and the error could be investigated directly in Business Central
